
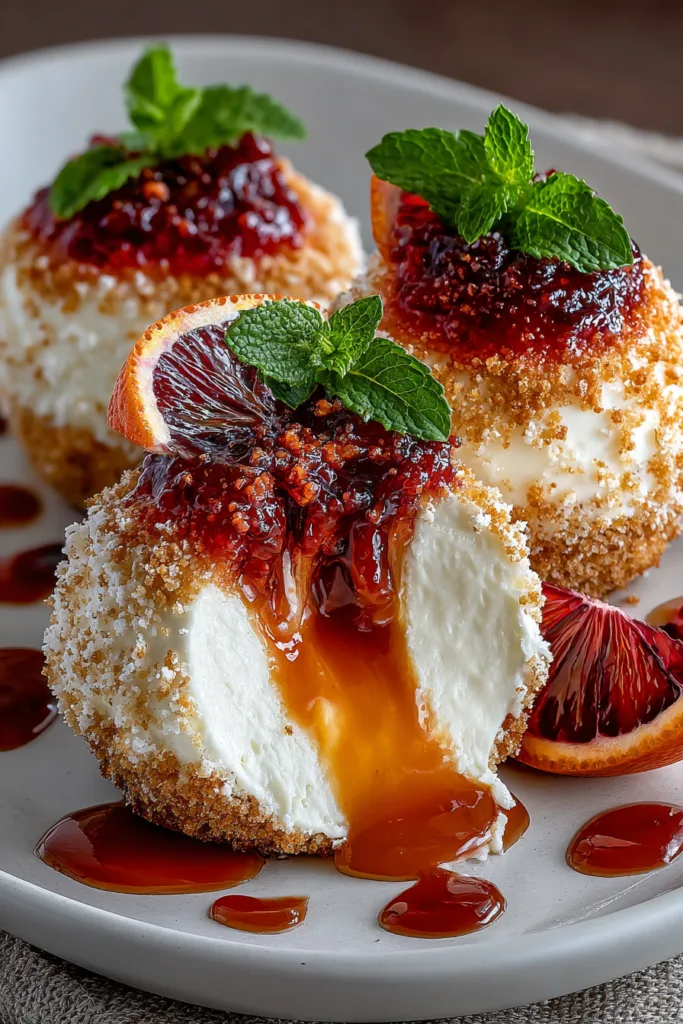
Blood Orange Cheesecake Bombs with Citrus Caramel Lava Center are the kind of dessert that instantly grabs attention the moment you place them on the table. One bite reveals a creamy cheesecake shell wrapped around a luscious citrus-infused caramel center that slowly flows out like molten lava. It’s dramatic, delicious, and surprisingly easy to make.
I still remember the first time I experimented with blood oranges in a dessert. The vibrant color, sweet-tart flavor, and incredible aroma transformed an ordinary cheesecake filling into something that felt bakery-worthy. And honestly? The smell of fresh blood orange zest mixed into creamy cheesecake is almost impossible to resist.
These cheesecake bombs deliver everything dessert lovers crave: velvety texture, bright citrus notes, crunchy graham cracker coating, and a gooey caramel surprise hidden inside. Whether you’re preparing a holiday dessert platter, planning a special celebration, or simply treating yourself after a long day, this recipe makes dessert feel exciting again.
If you enjoy creative no-bake desserts, be sure to subscribe to receive new recipes directly by email. Now, let’s dive into these irresistible Blood Orange Cheesecake Bombs with Citrus Caramel Lava Center.
Blood Orange Cheesecake Bombs: The Ultimate Citrus Dessert
What Are Blood Orange Cheesecake Bombs?
Blood Orange Cheesecake Bombs are bite-sized cheesecake treats featuring a rich cream cheese filling flavored with fresh blood orange juice and zest. Hidden inside each bomb is a frozen citrus caramel center that becomes soft and luscious after chilling.
Unlike traditional cheesecake slices, these treats are portable, easy to serve, and visually stunning. The combination of creamy filling, crunchy coating, and molten center creates multiple textures in every bite.
The blood orange adds a sophisticated citrus flavor that feels brighter and more complex than regular orange. Combined with silky caramel and white chocolate, it creates a dessert that’s both elegant and comforting.
Why You’ll Love These Blood Orange Cheesecake Bombs
There are plenty of reasons to add these cheesecake bombs to your dessert rotation.
- No baking required
- Perfect make-ahead dessert
- Beautiful presentation for parties
- Rich yet refreshing flavor
- Easy to customize
- Great for holidays and special occasions
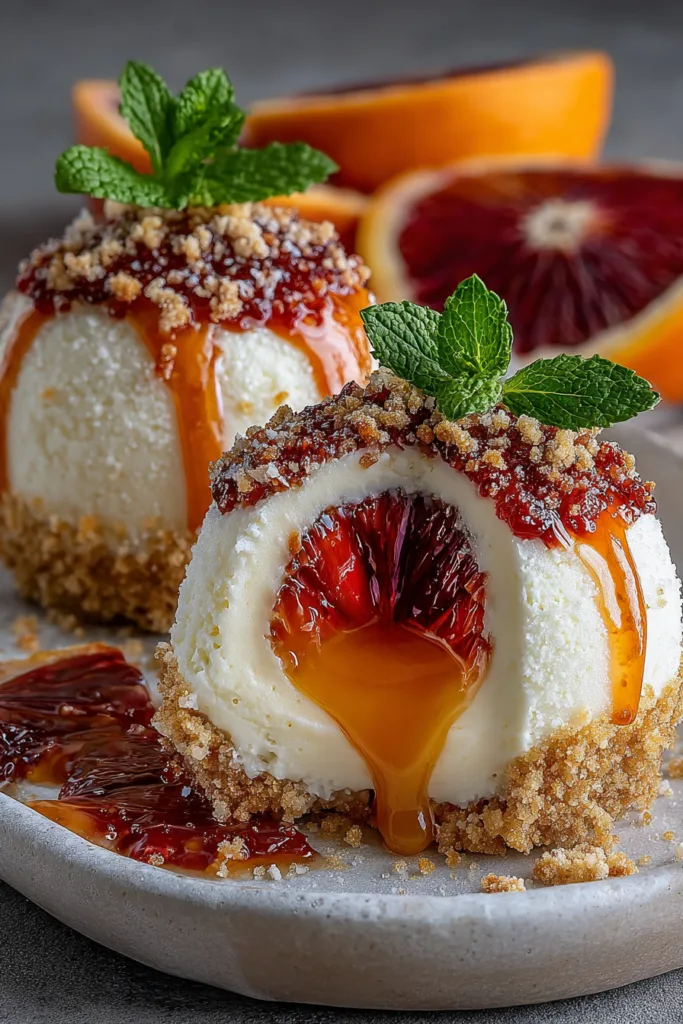
Perhaps my favorite part is watching guests cut into one and discover the hidden citrus caramel center. That little moment of surprise never gets old.
Blood Orange Cheesecake Bombs Ingredients and Equipment
Ingredients for Blood Orange Cheesecake Bombs
Cheesecake Filling
| Ingredient | Amount |
|---|---|
| Cream cheese, softened | 8 oz (225g) |
| Powdered sugar | 1/4 cup |
| Vanilla extract | 1 tsp |
| Blood orange zest | 1 tbsp |
| Blood orange juice | 2 tbsp |
Citrus Caramel Lava Center
| Ingredient | Amount |
|---|---|
| Soft caramel sauce | 1/2 cup |
| Blood orange juice | 1 tbsp |
| Orange zest | 1 tsp |
| Sea salt | Pinch |
Coating
| Ingredient | Amount |
|---|---|
| Crushed graham crackers | 1½ cups |
| Melted white chocolate | 1/2 cup |
| Blood orange zest | 1 tbsp |
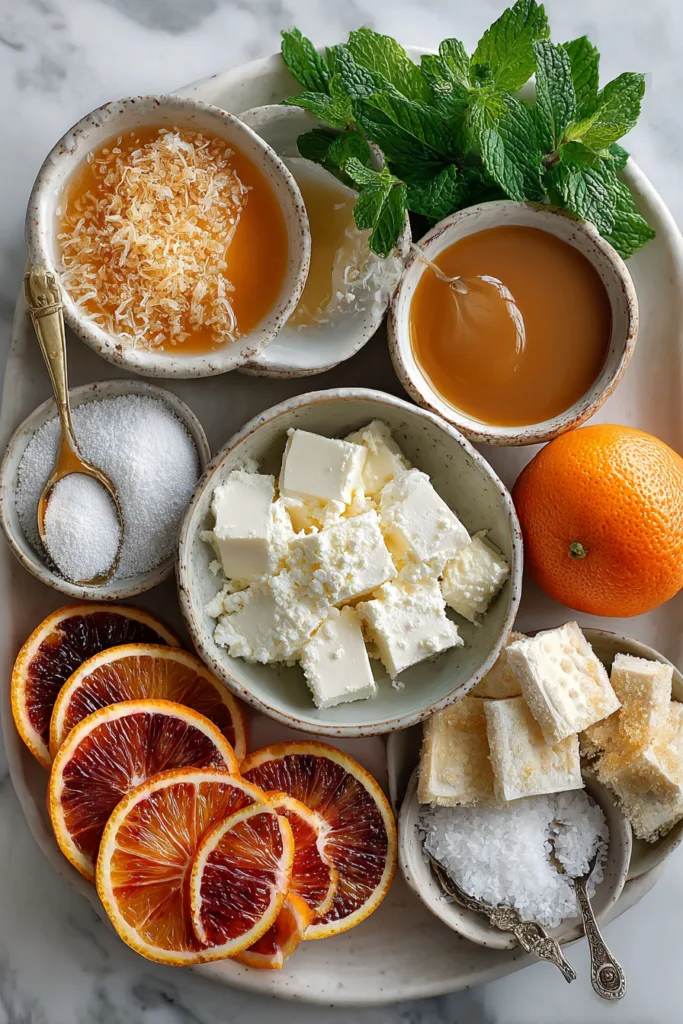
Garnish
- Blood orange slices
- White chocolate drizzle
- Fresh mint leaves
- Extra graham cracker crumbs
Essential Tools for Success
You’ll only need a few basic kitchen tools:
- Large mixing bowl
- Small mixing bowl
- Electric hand mixer
- Baking tray
- Parchment paper
- Cookie scoop
- Spoon
- Shallow coating dish
- Refrigerator and freezer
Nothing fancy. That’s one reason I love this recipe so much.
How to Make Blood Orange Cheesecake Bombs Step by Step
Preparing the Citrus Caramel Lava Center
Start by making the caramel filling.
In a small bowl, combine the caramel sauce, blood orange juice, orange zest, and sea salt. Stir until smooth and fully incorporated.
Line a tray with parchment paper. Spoon small portions of the caramel mixture onto the tray. Aim for about one teaspoon per portion.
Freeze for 30 to 40 minutes or until firm.
This step is essential. If the caramel isn’t frozen, assembling the cheesecake bombs becomes much more difficult.
Making the Cheesecake Mixture
In a larger bowl, combine softened cream cheese, powdered sugar, vanilla extract, blood orange zest, and blood orange juice.
Beat until smooth and creamy.
The mixture should be thick enough to hold its shape while remaining soft and easy to work with.
At this stage, you’ll notice the incredible citrus aroma filling your kitchen. It’s one of those little moments that makes homemade desserts so rewarding.
Assembling Blood Orange Cheesecake Bombs
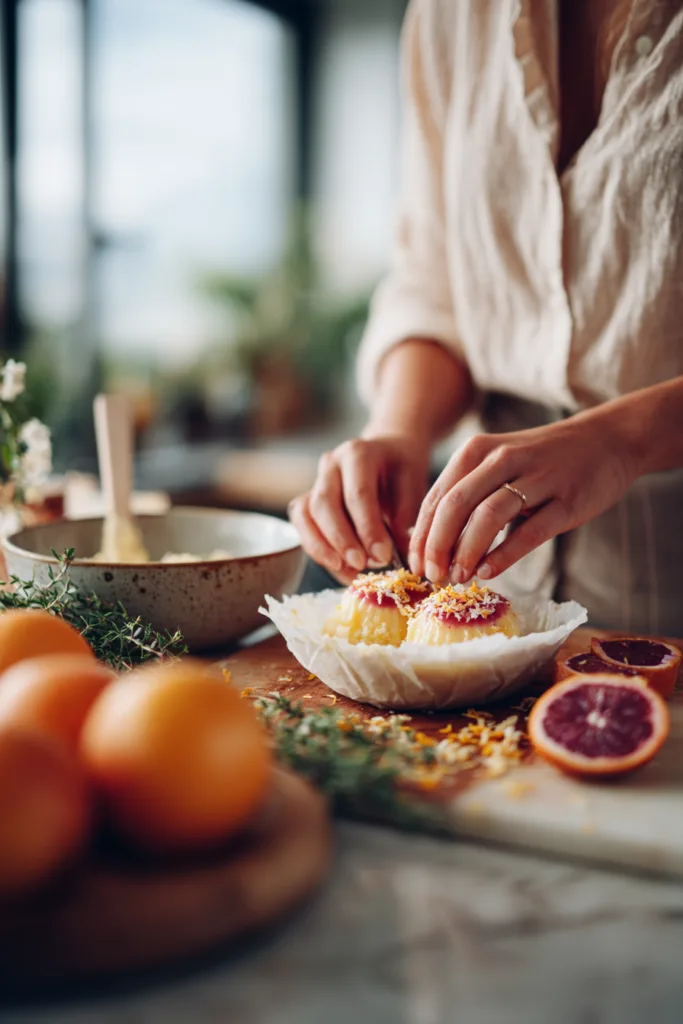
Scoop portions of the cheesecake mixture into your hand and gently flatten them.
Place a frozen caramel center in the middle.
Carefully wrap the cheesecake mixture around the caramel and seal completely.
Roll gently to create a smooth ball shape.
Repeat with the remaining mixture.
Place all assembled cheesecake bombs onto a tray and freeze for another 20 to 30 minutes.
This extra chilling time helps them maintain their shape during coating.
Coating and Decorating
Combine crushed graham crackers and blood orange zest in a shallow bowl.
Dip each cheesecake bomb lightly into melted white chocolate.
Immediately roll in the graham cracker mixture until fully coated.
Place them on a clean tray and refrigerate for at least 30 minutes.
Before serving, drizzle with extra white chocolate and garnish with blood orange slices, mint leaves, and additional graham cracker crumbs.
The final presentation looks absolutely stunning.
Tips, Serving Ideas, and Storage for Blood Orange Cheesecake Bombs
Best Ways to Serve Blood Orange Cheesecake Bombs
These cheesecake bombs pair beautifully with:
| Serving Idea | Why It Works |
|---|---|
| Coffee | Balances sweetness |
| Espresso | Enhances caramel notes |
| Hot tea | Refreshing contrast |
| Fruit platter | Adds freshness |
| Dessert board | Elegant presentation |
For parties, arrange them on a serving platter with fresh blood orange slices and mint sprigs. The vibrant colors instantly elevate the dessert table.
Expert Tips for Perfect Results
Use Full-Fat Cream Cheese
Full-fat cream cheese creates the richest texture and best flavor.
Freeze the Centers Completely
Partially frozen centers can leak during assembly.
Don’t Overcoat with Chocolate
A thin layer works best. Too much white chocolate can overpower the delicate citrus flavor.
Chill Before Serving
These cheesecake bombs taste best when thoroughly chilled.
Storage Instructions
Refrigerator
Store in an airtight container for up to 4 days.
Freezer
Freeze for up to 2 months.
Allow them to thaw in the refrigerator before serving.
General Information
- Recipe Type: No-bake dessert
- Cuisine: American-inspired
- Difficulty Level: Easy
- Prep Time: 30 minutes
- Chill Time: 1 hour 30 minutes
- Total Time: About 2 hours
- Servings: 8–10 cheesecake bombs
Nutritional Information
Approximate nutrition per serving:
| Nutrient | Amount |
|---|---|
| Calories | 390 kcal |
| Protein | 5g |
| Carbohydrates | 38g |
| Fat | 24g |
| Fiber | 1g |
Values may vary depending on ingredient brands and serving size.
Frequently Asked Questions About Blood Orange Cheesecake Bombs
Can I Use Regular Oranges Instead of Blood Oranges?
Yes. Regular oranges work well, although the flavor will be slightly less complex and vibrant.
Can I Make Blood Orange Cheesecake Bombs Ahead of Time?
Absolutely. They are ideal for making one or two days in advance.
Why Is My Caramel Center Not Flowing?
The center may have frozen too long before serving. Allow the cheesecake bombs to sit at room temperature for 5 to 10 minutes.
Can I Use Store-Bought Caramel Sauce?
Yes. A quality store-bought caramel sauce works perfectly.
Can I Freeze Blood Orange Cheesecake Bombs?
Yes. Freeze them in an airtight container for up to two months.
What Other Coatings Can I Use?
Try crushed vanilla wafers, toasted coconut, cookie crumbs, or finely chopped nuts.
Conclusion
Blood Orange Cheesecake Bombs with Citrus Caramel Lava Center combine everything a memorable dessert should have: creamy cheesecake, bright citrus flavor, crunchy coating, and a gooey caramel surprise hidden inside. They’re elegant enough for celebrations yet simple enough for weekend baking adventures.
What makes these cheesecake bombs truly special is the contrast of textures and flavors. Every bite delivers creamy richness, refreshing citrus notes, and silky caramel goodness. Once you make them, there’s a good chance they’ll become one of your most requested desserts.
If you enjoyed this recipe, you might also love:
- Peach Cheesecake Truffles
- No-Bake Orange Cream Cheesecake Cups
- Strawberry Cheesecake Bites
- Lemon Raspberry Cheesecake Balls
- Peach Cobbler Cheesecake Bars
Have you tried these Blood Orange Cheesecake Bombs? Leave a review below and share your photos on Pinterest. I’d love to see your delicious creations
Print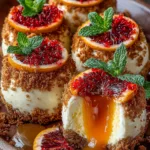
- Total Time: 6 hours (including freezing)
- Yield: 16 bombs
- Diet: Vegetarian
Description
Decadent mini cheesecake bombs with a creamy blood orange filling and a molten citrus caramel center—each bite bursts with tangy, sweet, and rich flavors that make them an unforgettable dessert.
Ingredients
For the Crust Base:
12 full graham crackers, finely crushed
4 tbsp unsalted butter, melted
2 tbsp granulated sugar
For the Blood Orange Cheesecake Filling:
16 oz cream cheese, softened
½ cup powdered sugar
2 tbsp blood orange zest (about 2 oranges)
3 tbsp fresh blood orange juice
1 tsp pure vanilla extract
½ cup heavy whipping cream
For the Citrus Caramel Lava Center:
1 cup granulated sugar
6 tbsp unsalted butter, cubed
½ cup heavy cream
2 tbsp fresh blood orange juice
1 tbsp blood orange zest
½ tsp flaky sea salt
For Coating & Garnish:
12 oz white chocolate, chopped
2 tbsp coconut oil
Red and orange gel food coloring (optional)
Blood orange zest for garnish
Flaky sea salt for finishing
Instructions
1. Make the citrus caramel: Heat sugar in a saucepan over medium heat, stirring constantly until fully melted and amber. Add butter carefully and stir until combined. Slowly pour in cream while stirring, then add blood orange juice, zest, and salt. Pour into a shallow dish and freeze for 1–2 hours until solid enough to scoop.
2. Make the crust: Mix crushed graham crackers, melted butter, and sugar until combined. Press into the bottom of a lined mini muffin tin or silicone mold and freeze for 15 minutes.
3. Make the cheesecake filling: Beat cream cheese and powdered sugar until smooth. Mix in blood orange zest, juice, and vanilla. In a separate bowl, whip heavy cream to stiff peaks, then fold into the cream cheese mixture until fluffy.
4. Assemble the bombs: Scoop a small frozen caramel ball and place it in the center of each mold. Spoon cheesecake filling around and over the caramel, pressing gently to encase it fully. Smooth the tops and freeze for at least 4 hours or overnight.
5. Coat with white chocolate: Melt white chocolate with coconut oil until smooth. Add a drop of red or orange food coloring if desired. Unmold frozen cheesecake bombs and dip each one fully into the white chocolate. Place on a parchment-lined tray.
6. Garnish and serve: Sprinkle immediately with blood orange zest and flaky sea salt before the coating sets. Refrigerate for 30 minutes before serving. Serve slightly chilled so the caramel center is lava-like.
Notes
Blood oranges peak from December to March—navel orange juice works as a substitute with a few drops of red food coloring.
For a more intense caramel lava effect, slightly warm the bombs in the microwave for 8–10 seconds before serving.
The frozen caramel center must be solid before assembly or it will mix into the cheesecake layer.
Bombs can be stored in the freezer for up to 2 weeks—just thaw in the fridge for 20 minutes before serving.
For a darker chocolate contrast, use ruby chocolate or a 70% dark chocolate coating instead of white.
- Prep Time: 45 mins
- Cook Time: 15 mins
- Category: Dessert
- Method: No-Bake / Freezing
- Cuisine: American / French-Inspired